前言
最近要做一些小的课程项目, 然后又是负责服务端这部分的, 所以要写一份优雅的API文档, 减少整个团队的沟通成本(同时也真的挺好看/用的)
目标
因为项目代码是在 Github 进行托管的, 所以最后也是利用 Github Page 显示出来
效果:
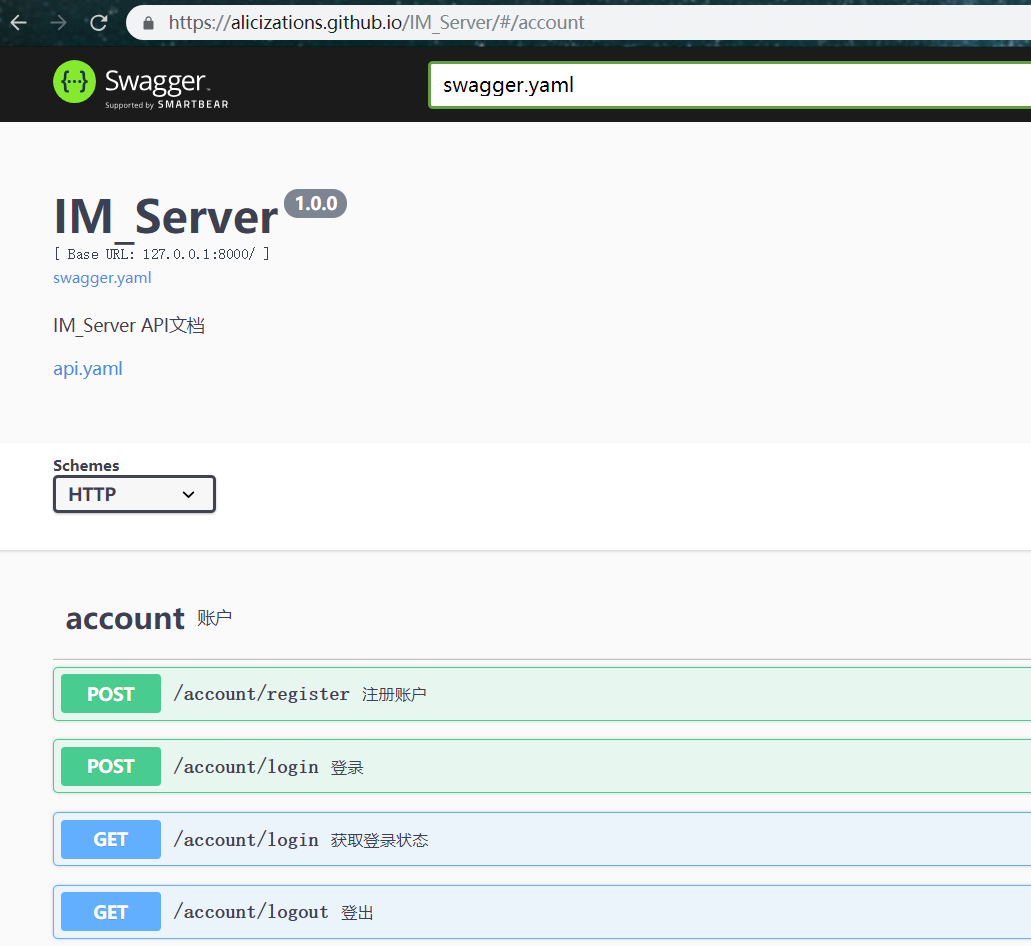
开始
我用的是Swagger 在线编辑, 加载可能有点慢, 然后就动手尝试写吧, 右边的渲染界面会马上把修改后的内容渲染出来
或者看下面我对写yaml的一些理解, 主要是分成几个块来写
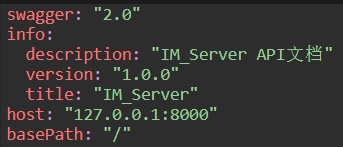
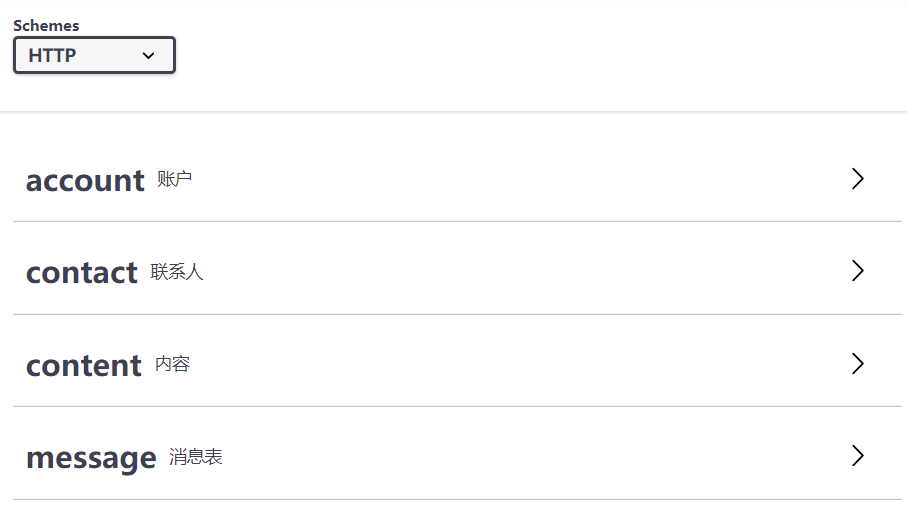
顶端部分
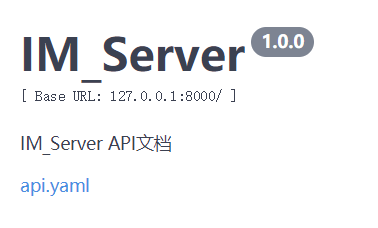
这里是最后的 Swagger UI 的顶端部分, 我去掉了一些用不到的代码, 大概用以下地方完成:
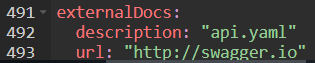
有个比较坑的地方, 下面这里是在代码最后的部分= =
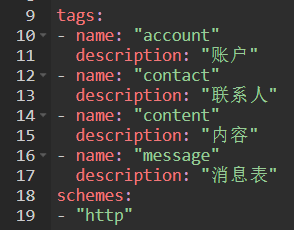
API模块
当然还有通信协议 HTTP 和 HTTPS(或者其他?)
是下面这部分代码写成的:
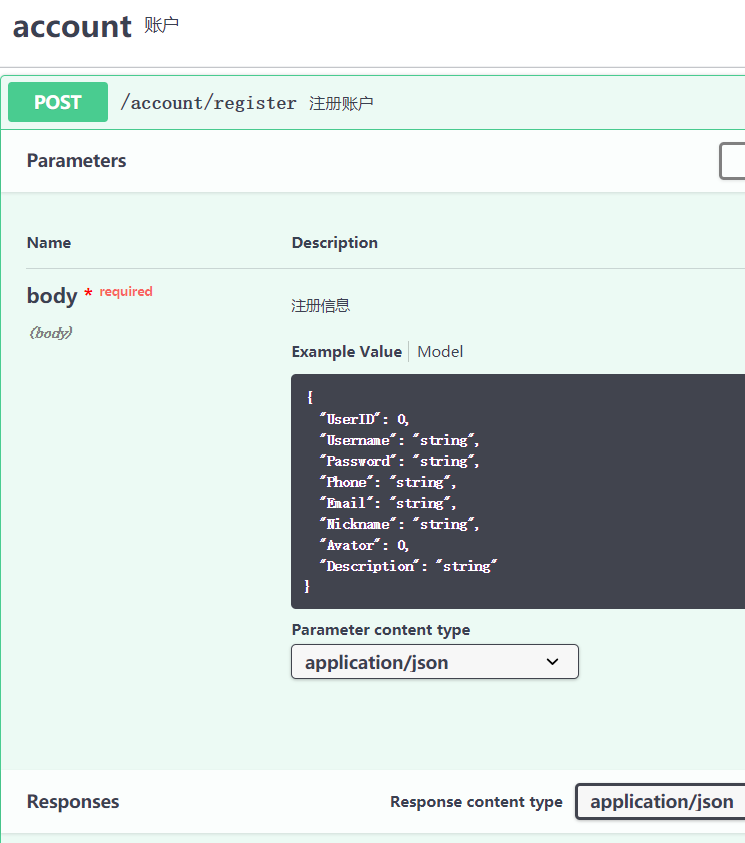
具体API接口
这接口根本一点都不 RESTful 啊, 对, 作者太菜了, 还要学习学习
接口是写在 paths 这里的:
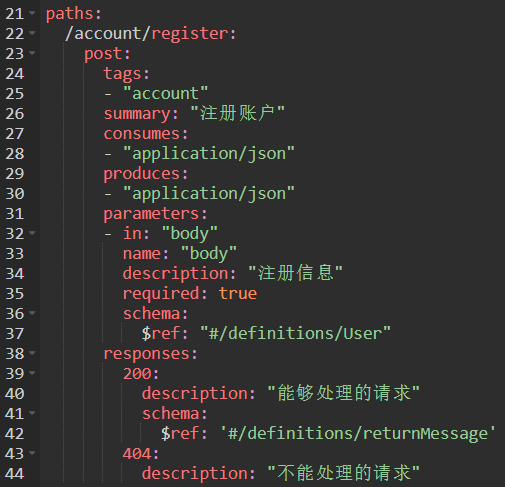
register 代码:
1 | /account/register: # 路径 |
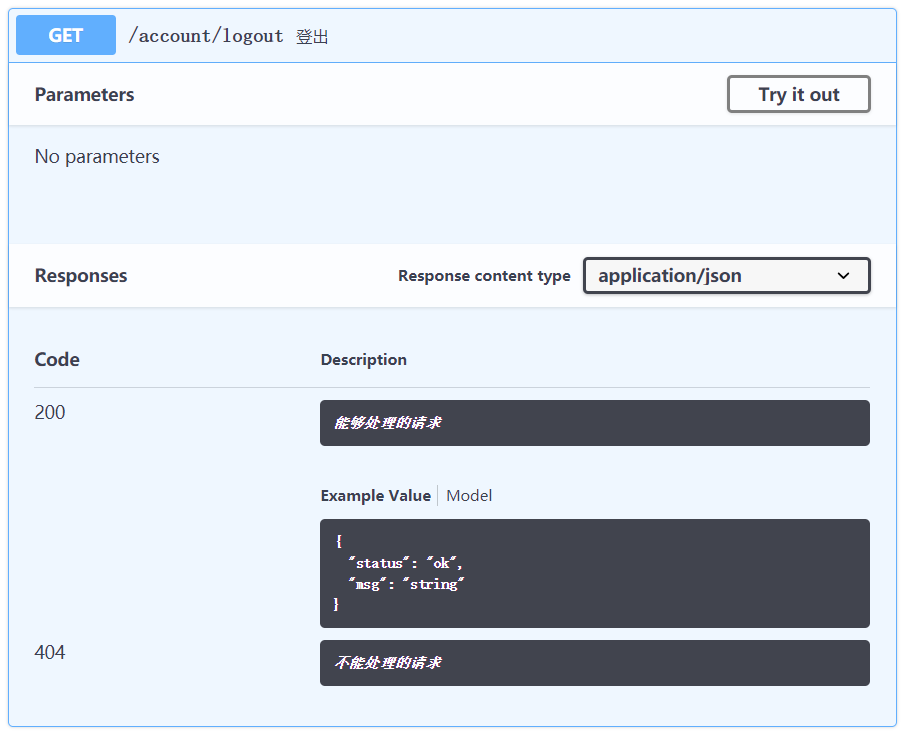
logout 代码:
1 | /account/logout: |
model
这里写的东西就是为 API 接口服务的, 便于更好的显示

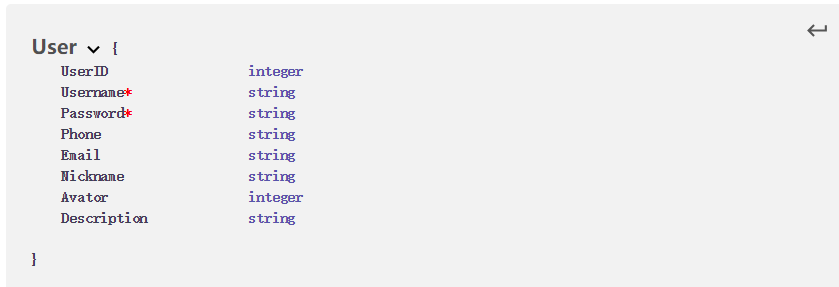
大概这么写:
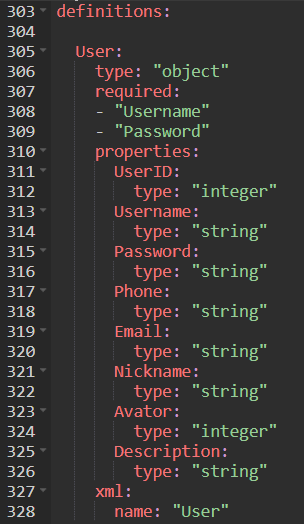
注意一下, xml 是给这个 model 定义一个名字, 然后在上面就可以引用这个名字来显示了
然后
写写写, 写多一会就写好了, 写完了就把 yaml 文件下载下来吧
Github page 设置
首先
我是在项目 repository 的 master 分支根目录新建了文件夹 /docs, 你也可以新开一个 repository 来显示, 都没关系
然后在 repository 的 setting 中选好 GitHub Pages 的 Source
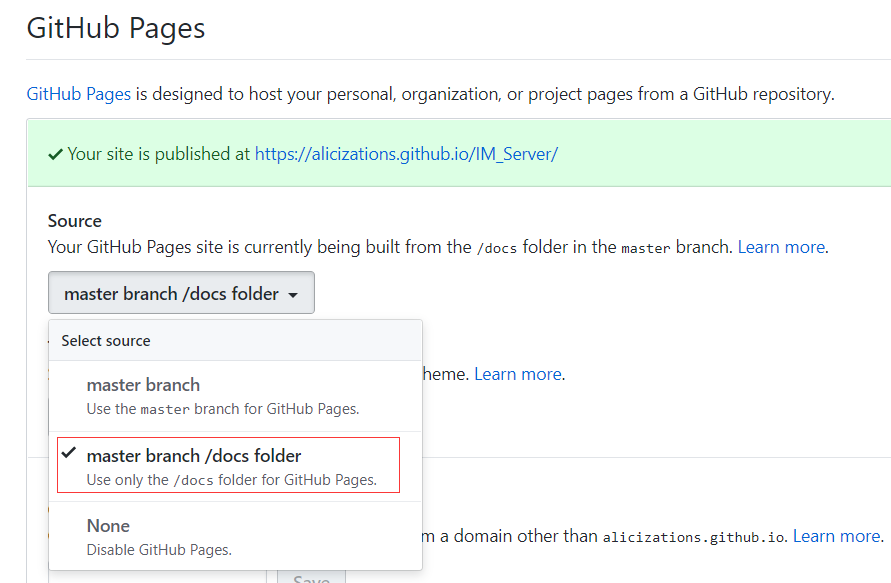
但是 /docs 里根本没有东西啊! 对, 接下来放一些东西进去
放网页到 docs
找一个地方, 把 swagger-ui clone 下来
1 | git clone https://github.com/swagger-api/swagger-ui.git |
然后把这个项目的 dist 文件夹里的全部文件复制到刚刚弄好的 docs/ 里, 还有之前写好的 yaml 文件
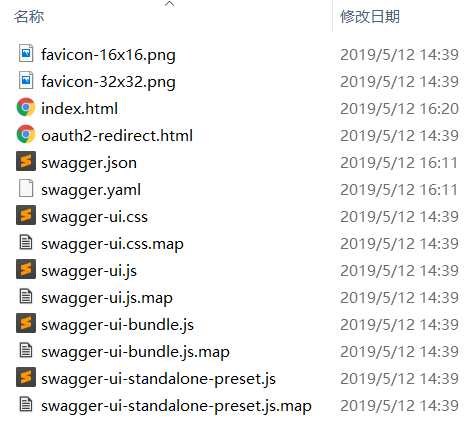
编辑这里的 index.html 文件, 把 url 字段的内容换成你的 yaml 文件

push到仓库, 完成!
git 三连
1 | git add . |
push 完成后, 稍等一会(大概10分钟), 访问你的 Github Page 就可以看到啦
或者, 访问你的 Github Page 后面加 index.html 可以马上看到效果
这里是我刚写这份博客的时候写好的 API 文档, 不是很好哈哈哈
资料备查
yaml语法说明
太长建议有需要的时候再查
1 | swagger: '2.0' # swagger的版本 |